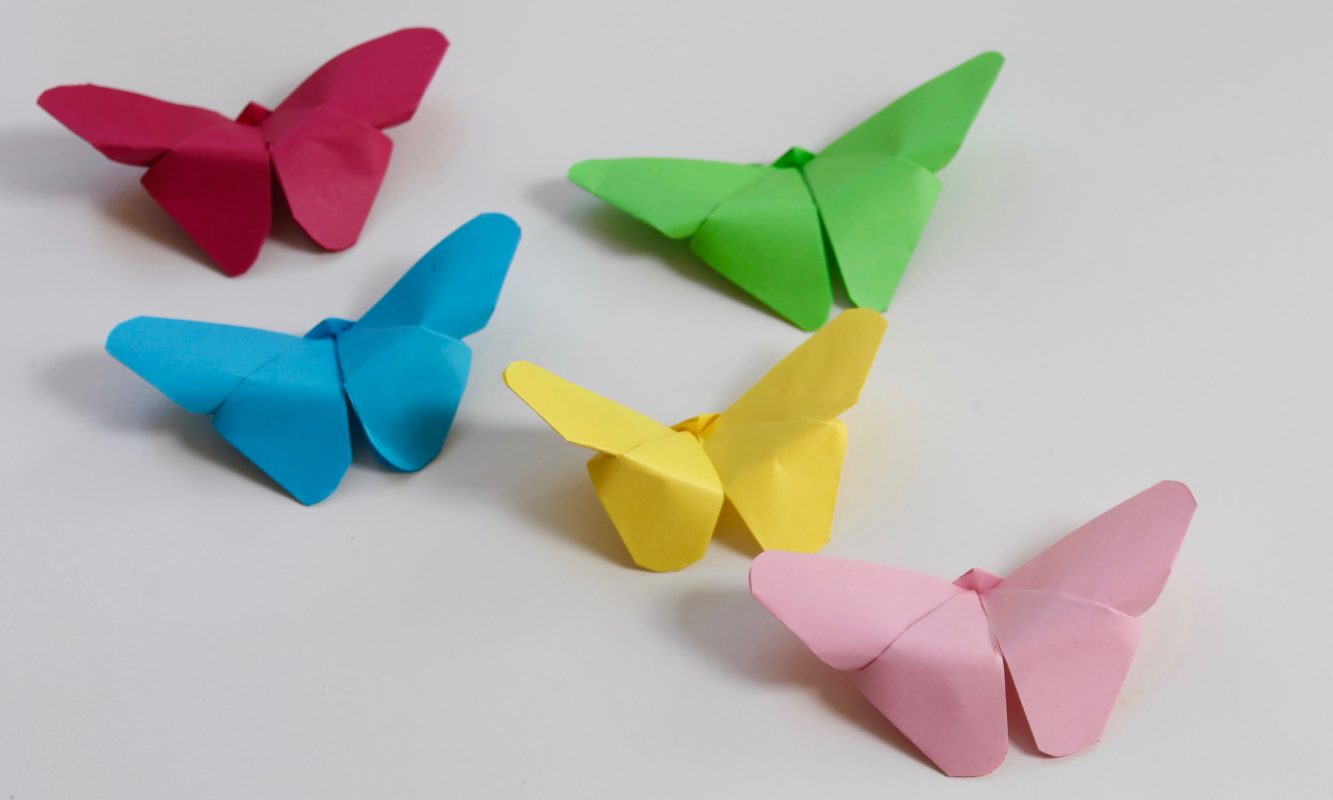
Do you know how to fold an origami butterfly with paper? If you don’t know, I’ll tell you! Step 1: You prepare square sheets of colored paper. Once you have the sheets of paper, fold them in half diagonally. Make a triangle. The size of the square depends on the size you want to make the butterflies, big or small. Then continue to fold the remaining diagonal so that the square becomes an isosceles triangle. Open it, you get a square with 2 diagonal lines. Step 2: Open the folded sheet diagonally. Then fold the square paper in half to form a rectangle. Do the same on the other side, we will have the paper when opened. Step 3: Lean on the folds to fold the 2 corners together. Fold the two sides the same, we get an isosceles triangle. Then you fold the folded triangle paper in half along the high line. Step 4: Use scissors to cut at the corner where the mouth of the paper is curved, so that the curve forms a soft butterfly. After cutting, fold one edge of the triangle back down. Similarly, with the other side, we get the following figure. Step 5: Turn the back side upside down and fold the pointed top upside down. Continue to flip the back side over to fold the small triangle at the top to secure the butterfly’s wings. You use your hands to adjust the wings and body of the butterfly. And that’s it, we’ve finished folding a cute but very simple butterfly.

FOLDING AN ORIGAMI BUTTERFLY IS VERY SIMPLE, LET’S TRY!
- Post author:Trần Nguyễn Tùng Chi
- Post published:31 July, 2023
- Post comments:0 Comments


